AI-generated content (AIGC) technology now is transforming our world at an unprecedented speed. AIGC not only provides powerful tools for content creators but also brings unprecedented business opportunities for enterprises. Through AIGC, applications can automatically generate text, images, audio, and even video, significantly enhancing the efficiency and quality of content production. More importantly, AIGC can generate content tailored to users' specific needs in real-time, greatly improving the user experience.
However, fully leveraging the potential of AIGC comes with a series of challenges for developers, such as high technical barriers, complex model integration, and difficult operations management. It is against this backdrop that Dify was born. Dify is an open-source large language model (LLM) application development platform that ingeniously integrates the concepts of Backend as Service and LLMOps. It aims to provide a fast track from ideas to products for developers. Dify provides a range of LLMs, intuitive prompt design tools, a powerful agent framework, and flexible process orchestration capabilities, all within a user-friendly interface and API. This greatly reduces technical barriers, enabling those without a technical background to participate in building AI applications.
Although Dify greatly simplifies the development of AI applications, how to efficiently manage the infrastructure on which these applications reply remains a significant issue during deployment and operations. AIGC applications typically use various databases, such as relational databases like PostgreSQL for application metadata, in-memory databases like Redis for conversation history, and vector databases like Qdrant for RAG recall. Ensuring the stable operation of these critical components, data consistency and security, and meeting rapidly growing business demands is a considerable challenge for any team.
This is where KubeBlocks unleashes its power. KubeBlocks is a data infrastructure management platform based on Kubernetes that provides a complete solution to help automate the management and scheduling of data infrastructure. Whether it is OLTP, OLAP, NoSQL, message queues, stream engines, or emerging vector databases and LLMs, KubeBlocks can manage them effortlessly, greatly enhancing the management efficiency of stateful workloads. KubeBlocks supports multi-cloud environments, offering one-click deployment, seamless scaling, and automatic fault recovery, ensuring high performance, high elasticity, and observability of production-grade applications.
By combining Dify's rapid application development and iteration capabilities with KubeBlocks' ability to ensure stable and manageable infrastructure, this solution not only improves development efficiency but also guarantees the reliability and scalability of the application. This blog will demonstrate how to build production-grade AIGC applications based on the KubeBlocks + Dify solution.
Install the latest version of kbcli.
kbcli is the command-line tool provided by KubeBlocks that allows for intuitive and streamlined management of KubeBlocks-related resources.
For KubeBlocks users, kbcli offers a more direct and efficient operational option, enabling Kubernetes novices to quickly get started.
curl -fsSL https://kubeblocks.io/installer/install_cli.sh
Install the latest version of KubeBlocks.
kbcli kubeblocks install
Run kbcli addon list to view the enabled databases.
KubeBlocks installs some common databases such as MySQL, PostgreSQL, Redis, and MongoDB by default.
kbcli addon list
>
NAME                           VERSION         PROVIDER    STATUS     AUTO-INSTALL
llm                            0.9.0           community   Disabled   false
minio                          12.8.12         community   Disabled   false
prometheus                     15.16.1         community   Disabled   false
qdrant                         0.9.0           community   Disabled   false
apecloud-mysql                 0.9.0-beta.10   apecloud    Enabled    true
elasticsearch                  0.9.0           community   Enabled    true
kafka                          0.9.0           community   Enabled    true
mongodb                        0.9.0           apecloud    Enabled    true
mysql                          0.9.1           community   Enabled    true
postgresql                     0.9.0           community   Enabled    true
pulsar                         0.9.0           community   Enabled    true
redis                          0.9.0           community   Enabled    true
Run the command below to enable the Qdrant addon.
Vector databases that Dify relies on, such as Qdrant, are not enabled by default.
kbcli addon enable qdrant
Run kbcli addon describe qdrant and wait for the status to change to "Enabled".
kbcli addon describe qdrant
>
Name:               qdrant
Description:        Qdrant is an open source (Apache-2.0 licensed), vector similarity search engine and vector database.
Labels:             addon.kubeblocks.io/model=vector,addon.kubeblocks.io/name=qdrant,addon.kubeblocks.io/provider=community,addon.kubeblocks.io/version=0.9.0
Type:               Helm
Status:             Enabled
Auto-install:       false

Installed Info:

NAME   REPLICAS   STORAGE   CPU (REQ/LIMIT)   MEMORY (REQ/LIMIT)   STORAGE-CLASS   TOLERATIONS   PV-ENABLED
main                        /                 /
By default, the Qdrant addon in KubeBlocks uses the official Docker Hub image docker.io/qdrant/qdrant. If you encounter issues pulling the image from the official Docker Hub, you can instead use the image synchronized from the KubeBlocks official repository when enabling the addon.
kbcli addon enable qdrant --set image.registry=apecloud-registry.cn-zhangjiakou.cr.aliyuncs.com --set image.repository=apecloud/qdrant
In addition to installing KubeBlocks, kbcli also provides a rich set of database cluster operation features. You can easily create database clusters, check cluster status, perform horizontal and vertical scaling, expand storage volumes, and start, stop, or restart clusters - all through simple commands. This significantly reduces the learning curve for users. For users who want to quickly deploy and test KubeBlocks, kbcli provides Playground, making it ideal for learning and experimental scenarios.
For advanced users who are familiar with Kubernetes and wish to dive deeper into the integration details between KubeBlocks and Kubernetes, KB provides a declarative API. This allows you to manage databases using kubectl just like Kubernetes native resources, offering a more comprehensive and low-level perspective for observing and operating database clusters.
Dify stores its metadata in PostgreSQL. Here we create a PostgreSQL Replication cluster first. This cluster consists of two replicas and each is provisioned with 1C2G and 20 GiB of storage.
# kbcli
kbcli cluster create postgresql postgresql --cpu=1 --memory=2 --storage=20 --mode=replication --version=postgresql-14.8.0

# or kubectl
kubectl apply -f https://kubeblocks.io/yamls/dify/postgresql.yaml
Dify uses a vector database to store user-uploaded documents and their corresponding feature vectors. KB supports several vector databases, including dedicated ones like Qdrant, Milvus, and Weaviate, and traditional databases with vector capabilities like PostgreSQL with the pgvector plugin. This blog demonstrates creating a vector database by using Qdrant. Here we create a Qdrant cluster with three replicas and each is provisioned with 1C2G and 20 GiB of storage.
# kbcli
kbcli cluster create qdrant --cluster-definition=qdrant --cluster-version=qdrant-1.8.4  --set cpu=1,memory=2Gi,storage=20Gi,replicas=3

# or kubectl
kubectl apply -f https://kubeblocks.io/yamls/dify/qdrant.yaml
Dify uses Redis to store user conversation history. Here we create a high-availability Redis cluster, which includes Redis and Sentinel components.
# kbcli
kbcli cluster create redis redis --version=redis-7.0.6 --mode=replication --cpu=2 --memory=1 --storage=20 --replicas=2 --sentinel.cpu=0.2 --sentinel.memory=0.2 --sentinel.replicas=3 --sentinel.storage=20

# or kubectl
kubectl apply -f https://kubeblocks.io/yamls/dify/redis.yaml
Before deploying Dify, run kubectl get cluster and wait for the PostgreSQL, Redis, and Qdrant clusters to all be in the "Running" status.
kubectl get cluster
>
NAME         CLUSTER-DEFINITION   VERSION             TERMINATION-POLICY   STATUS    AGE
postgresql   postgresql           postgresql-14.8.0   Delete               Running   20m
qdrant       qdrant               qdrant-1.8.4        Delete               Running   11m
redis        redis                redis-7.0.6         Delete               Running   73s
We also need to initialize the Dify metadata manually.
Connect to the PostgreSQL cluster.
kbcli cluster connect postgresql
Run the SQL below to create a database named dify.
create database dify;
Get the password for the default Redis account and configure it to Dify later.
# Get the Redis password
kubectl get secret redis-redis-account-default -o jsonpath="{.data.password}" |base64 -d
In this blog, we use Helm, a popular package manager for Kubernetes, to deploy Dify.
Add the relevant Helm repository.
helm repo add douban https://douban.github.io/charts/
Save the following content to values.yaml, which sets up the access information for relevant databases, including connection addresses, usernames, and passwords.
global.host is the domain name for accessing Dify. If the domain name is not publicly accessible, you need to configure local static resolution later. And for your convenience, disable TLS.values.yaml file directly references them through env. So no changes are needed.kubectl get secret redis-redis-account-default -o jsonpath="{.data.password}" | base64 -d to get the default account and password of Redis, and replace ${REDIS_PASSWORD} in the values.yaml file with the password obtained from the command.ingress.className with the actual ingress class of the Kubernetes cluster. You can view available ingress classes in the cluster by running kubectl get ingressclass.env.SECRET_KEY is used for login authentication and encrypting sensitive information. For security, replace it with a sufficiently strong key, which can be generated using openssl rand -base64 42.global:
host: "mydify.example.com"
enableTLS: false
image:
# Set to the latest version of dify
# Check the version here: https://github.com/langgenius/dify/releases
# If not set, Using the default value in Chart.yaml
tag: "0.6.11"
extraBackendEnvs:
- name: CELERY_BROKER_URL
value: redis://default:${REDIS_PASSWORD}@redis-redis-redis:6379/1
- name: REDIS_USERNAME
value: default
- name: REDIS_PASSWORD
value: ${REDIS_PASSWORD}
- name: REDIS_HOST
value: redis-redis-redis
- name: REDIS_PORT
value: "6379"
- name: REDIS_DB
value: "0"
- name: DB_USERNAME
valueFrom:
secretKeyRef:
name: postgresql-conn-credential
key: username
- name: DB_PASSWORD
valueFrom:
secretKeyRef:
name: postgresql-conn-credential
key: password
- name: DB_HOST
value: postgresql-postgresql
- name: DB_PORT
value: "5432"
- name: DB_DATABASE
value: dify
- name: VECTOR_STORE
value: "qdrant"
- name: QDRANT_URL
value: "http://qdrant-qdrant:6333"
- name: SECRET_KEY
value: "PleaseReplaceThisToYourSecretOrUse"
ingress:
enabled: true
className: "nginx"
minio:
embedded: true
redis:
embedded: false
postgresql:
embedded: false
api:
envs:
- name: "MIGRATION_ENABLED"
value: "true"
Deploy Dify.
helm upgrade -i dify douban/dify -f values.yaml
View the pod status and wait for all Dify-related pods to be in the "Running" status.
kubectl get pods -l app.kubernetes.io/name=dify
>
NAME                            READY   STATUS    RESTARTS   AGE
dify-worker-5f5f99b7b7-p6qk8    1/1     Running   0          97s
dify-sandbox-7bf987566c-2fj6w   1/1     Running   0          97s
dify-frontend-c9df5ddb4-4v8jp   1/1     Running   0          97s
dify-api-7c98b9847c-4tgjx       1/1     Running   0          97s
Run the following command to confirm the access address of the Dify Ingress since Dify exposes its services externally through an Ingress.
kubectl get ingress -l app.kubernetes.io/name=dify
>
NAME   CLASS   HOSTS                ADDRESS        PORTS   AGE
dify   nginx   mydify.example.com   10.43.65.209   80      2m48s
If the Ingress domain name is not publicly resolvable, such as a custom private domain, you need to configure the static resolution on the domain mydify.example.com on the client that accesses Dify.
sudo echo '10.43.65.209 mydify.example.com' >> /etc/hosts
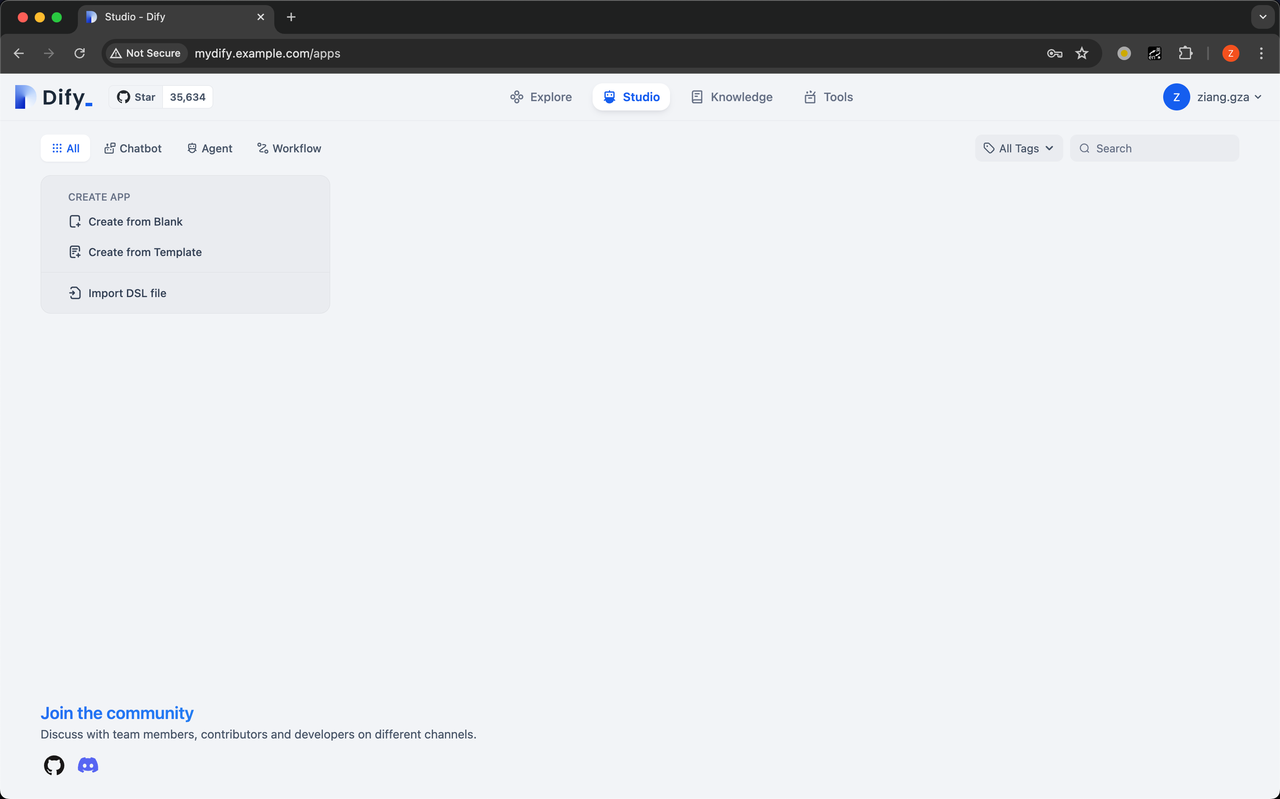
Enter http://mydify.example.com in a browser to open the Dify console.

Register an admin account. After logging in, you will see the Dify interface.
As your business expands, it will be necessary to perform various operational tasks on the databases. KubeBlocks provides comprehensive support for day-2 operations, such as upgrade, scaling, and restart. Here are some examples.
As the number of user-uploaded files in the knowledge base increases, the existing Qdrant cluster with three replicas may become unable to handle the load. In this case, there are two options:
KubeBlocks supports both scaling options.
For vertical scaling, for example, you can increase the CPU to 8 cores and memory to 32 GiB.
kbcli cluster vscale qdrant --components qdrant --cpu 8 --memory 32Gi
For horizontal scaling, you can add more pods.
kbcli cluster hscale qdrant --replicas 5
If business demand decreases, such as when users delete a large number of documents, you can also scale down both vertically and horizontally.
If the number of registered users increases and the PostgreSQL metadata database storage is insufficient, you can expand the storage, for example, to 50 GiB.
kbcli cluster volume-expand postgresql --components postgresql --storage=50Gi --volume-claim-templates=data
If an exception occurs to the PostgreSQL cluster, you can try restarting the cluster to resolve it.
kbcli cluster restart postgresql
This blog showcases how to build a production-grade AIGC application using KubeBlocks and Dify. The combination of KubeBlocks' power in managing data infrastructure and Dify's capabilities in AIGC application development significantly improves the efficiency of developing and deploying AIGC applications, with a highly flexible architecture that offers strong scalability and reduces the complexity of operations in a production environment.