Moodle is a free online learning management system that allows educators to create their private websites, populate them with dynamic course content, and thereby enable people to learn anytime, anywhere.
This document will guide you to quickly get started with installing and using Moodle on Windows, leveraging the MySQL database provided by KubeBlocks.
kbcli addon list
>
NAME                           TYPE   STATUS     EXTRAS         AUTO-INSTALL   INSTALLABLE-SELECTOR
...
apecloud-mysql                 Helm   Enabled                   true
...
This is a Standalone demonstration. For a RaftGroup Cluster deployment, please refer to: Create and connect to a MySQL Cluster | KubeBlocks.
kbcli cluster create mysql <clustername>
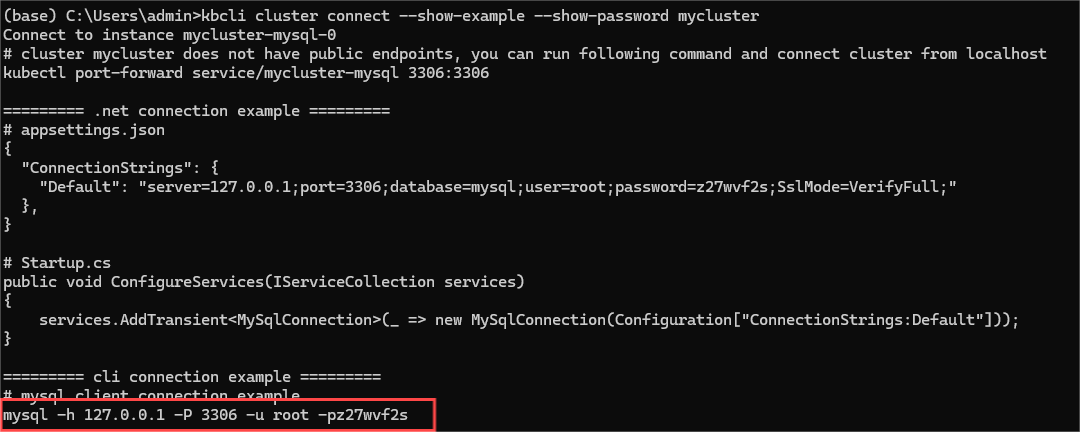
Execute the following commands to retrieve the network information of the target database, particularly note the password that will be needed later.
kbcli cluster connect --show-example --show-password ${cluster-name}
Perform a port-forward to provide the MySQL service to the host.
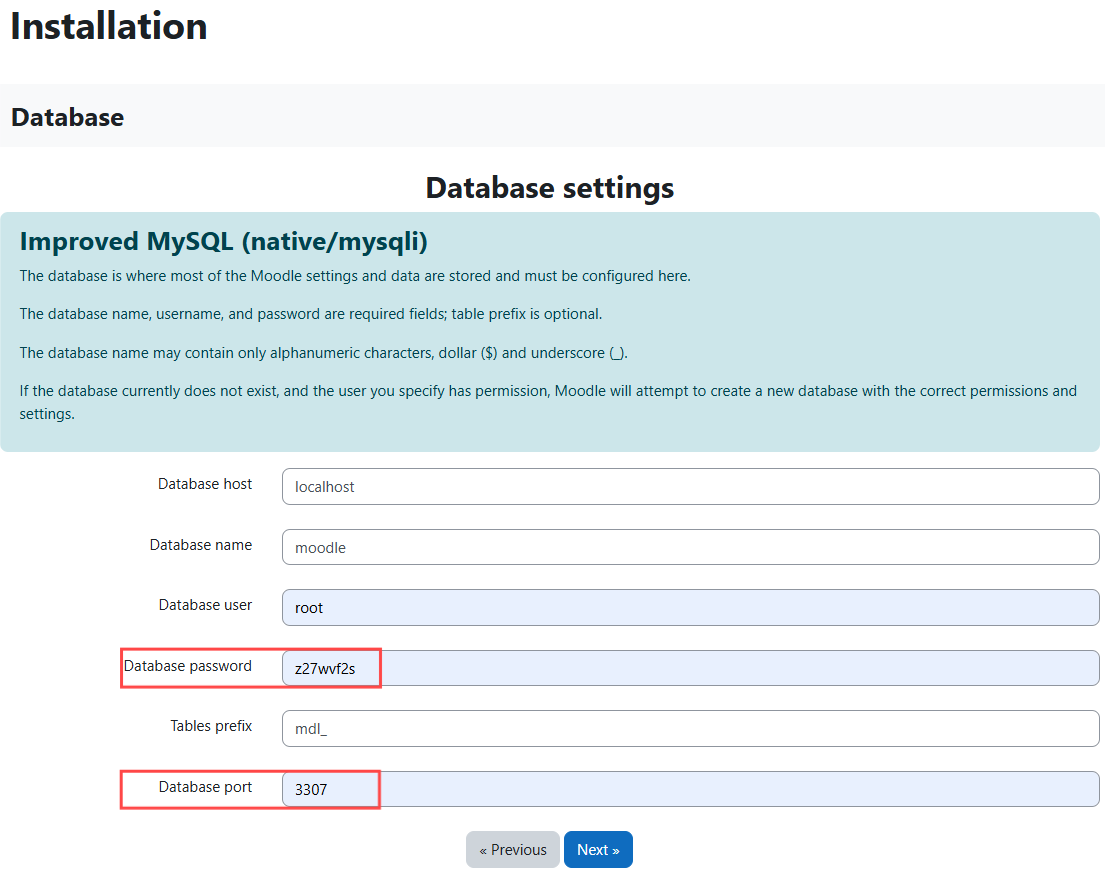
Note that since you will need to start the MySQL service on the local machine later, you need to modify the local port number to avoid conflicts. Here we have changed it to 3307.
kubectl port-forward service/mycluster-mysql 3307:3306
>
Forwarding from 127.0.0.1:3307 -> 3306
Forwarding from [::1]:3307 -> 3306
For detailed guidance on connecting to the database, please refer to: Connect database from anywhere | KubeBlocks.
For Windows, it is recommended to use XAMPP to install Moodle.
Go to the official website to download and install XAMPP. Here is the website address: XAMPP Installers and Downloads for Apache Friends
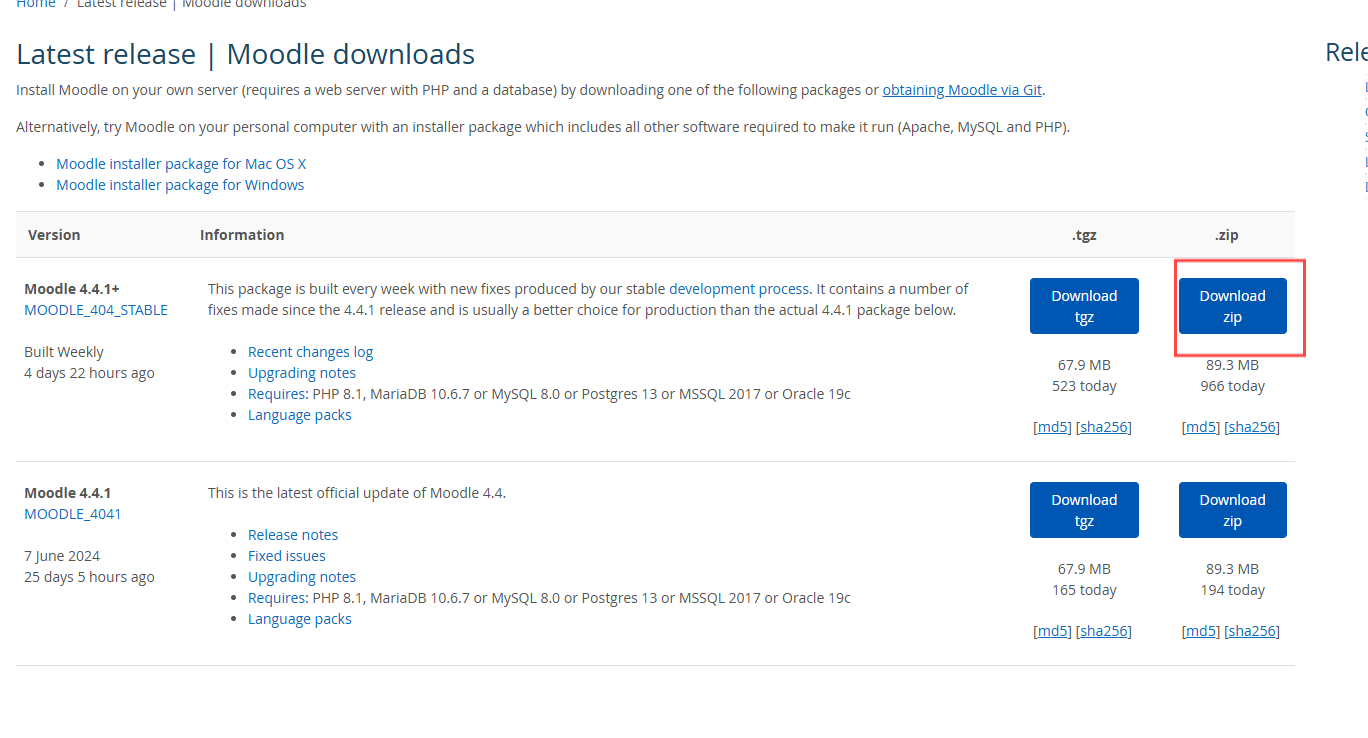
Go to the Moodle official website and download the appropriate file. Here is the website address: Latest release | Moodle downloads
After the download is complete, extract the compressed package to the download directory under the htdocs folder of your XAMPP installation. If the configuration is all default, it will be in C:/xampp/htdocs
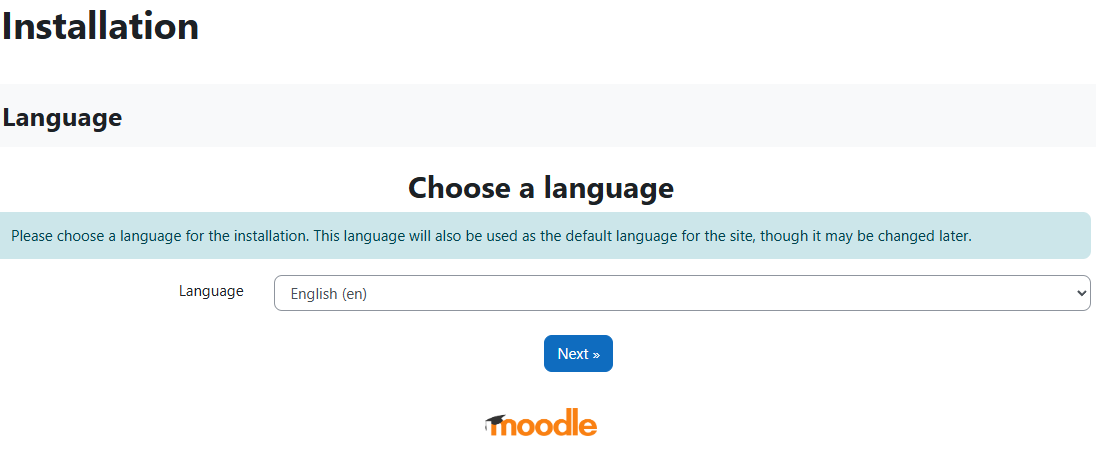
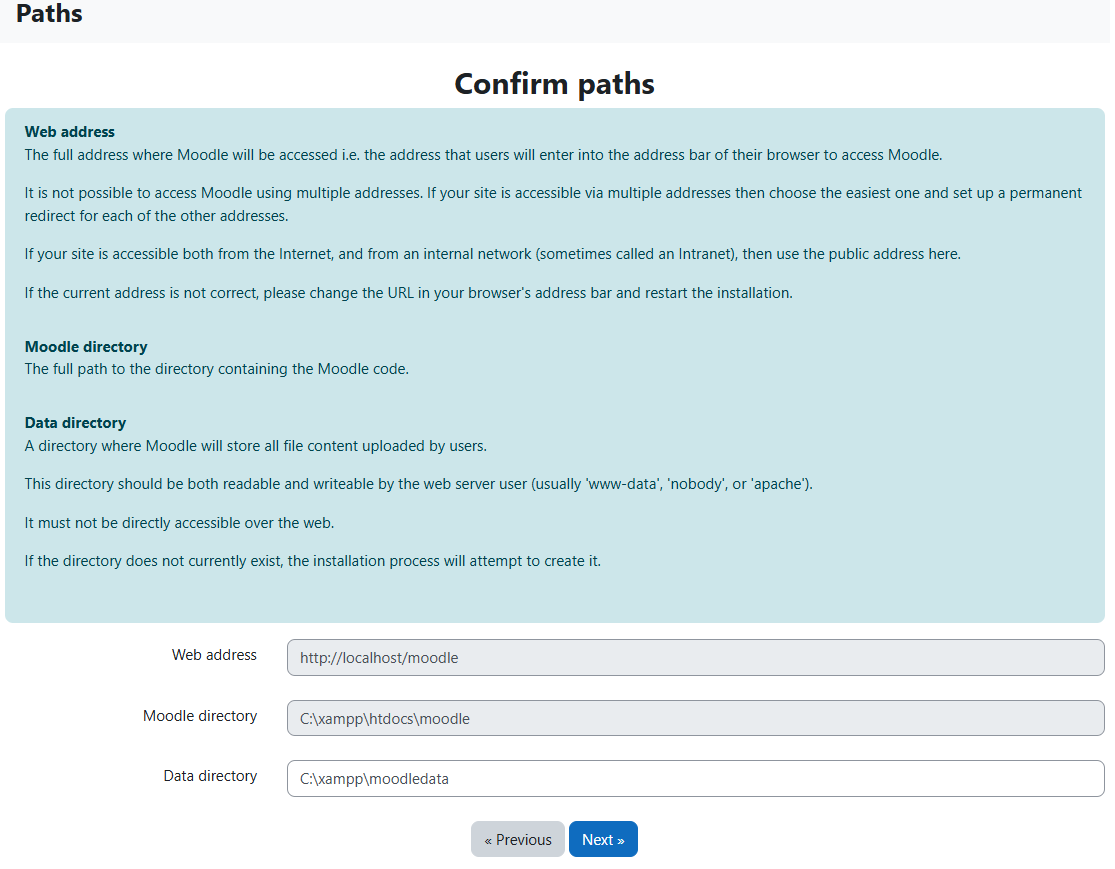
Open a browser and enter the address localhost/moodle, then follow the steps below to install Moodle.
The default configuration is fine, just click Next.
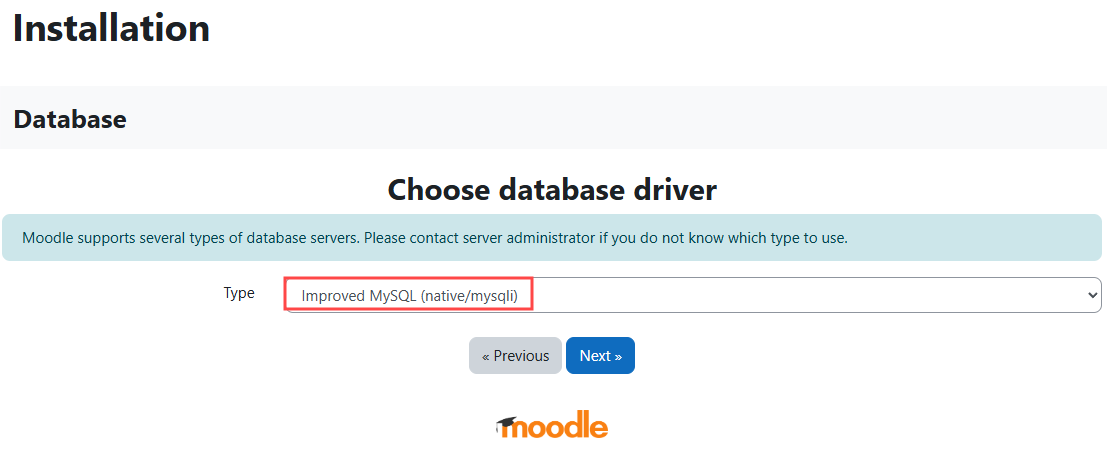
Select mysqli here.
Use the previous KubeBlocks settings.
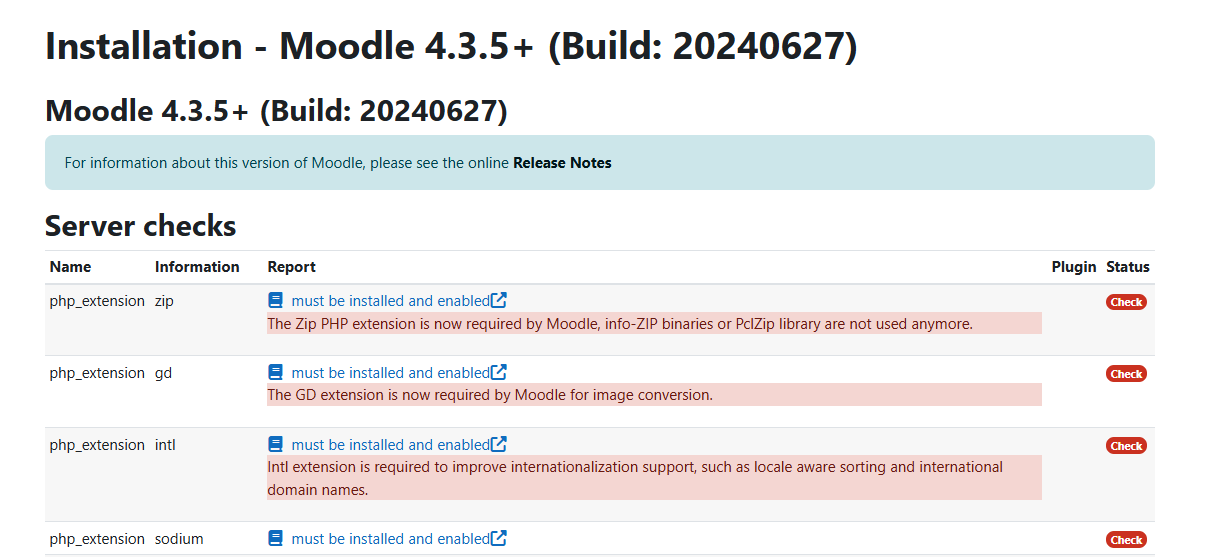
When downloading PHP extensions, some server component check errors may occur in this step.
The steps to fix this are as follows:
Use a text editor to open the php.ini file, which is located in the xampp/ directory, and search for and uncomment the following extension lines:
extension=zip
extension=gd
extension=intl
extension=sodium
max_input_vars
After uncovering max_input_vars, modify it to max_input_vars=5000
Copy the xampp/php/libsodium.dll library to the xampp/apache/bin/ directory.
After that, there will be some downloads, just wait.
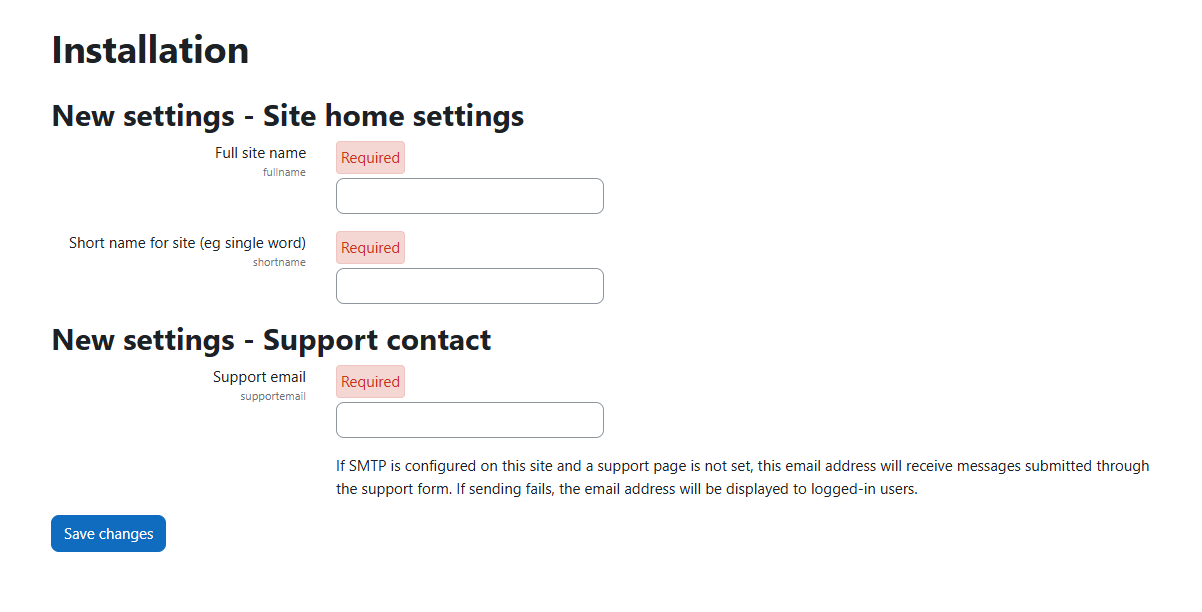
Set the name and email, and the installation will soon be complete.
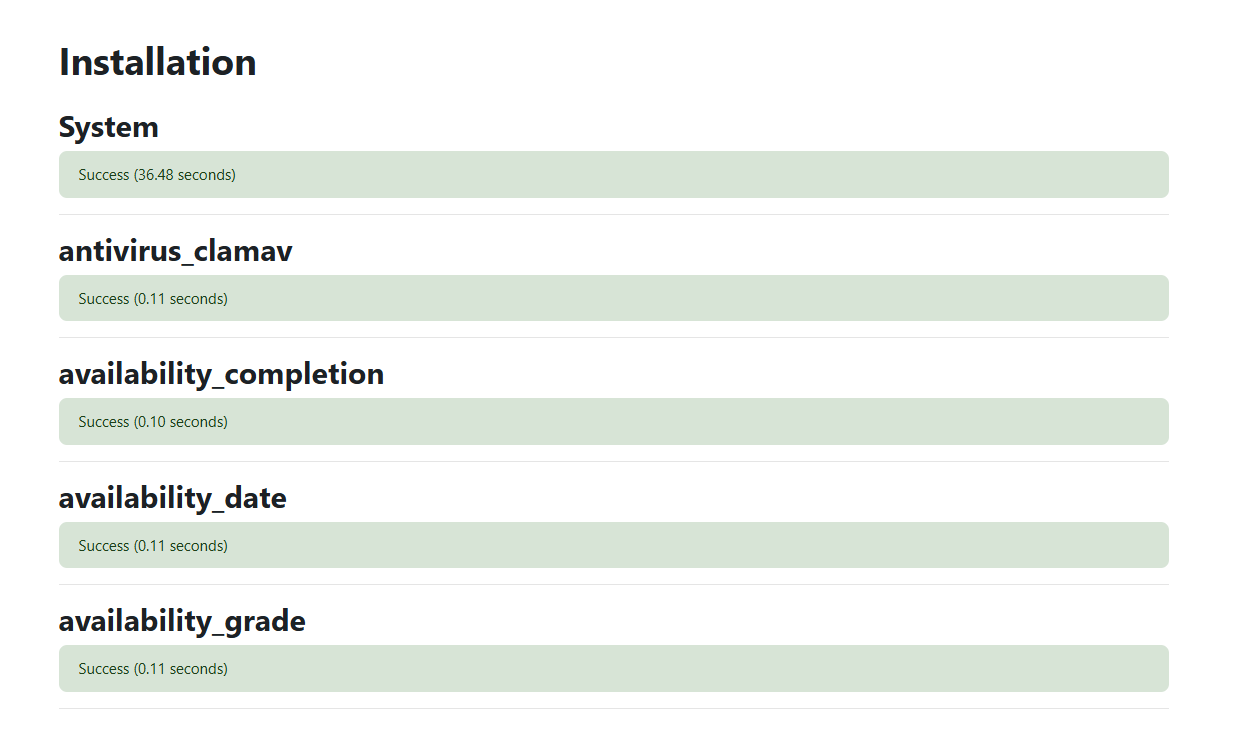
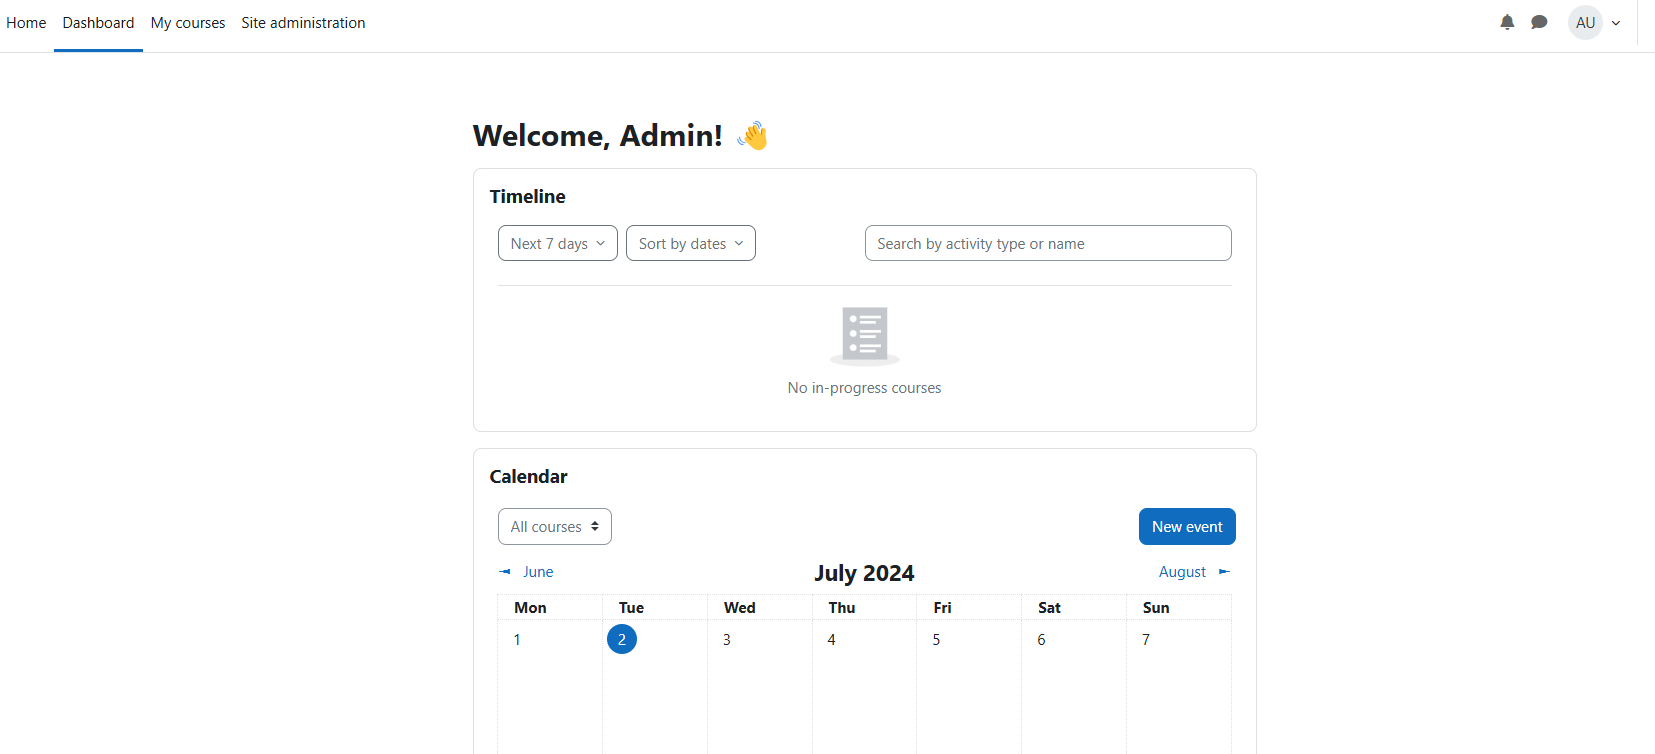
In this step, the entire installation is complete, and you can now freely use Moodle!!
For more detailed installation steps, please visit Install Moodle - MoodleDocs.
kbcli addon list
NAME                      TYPE   STATUS     EXTRAS         AUTO-INSTALL   INSTALLABLE-SELECTOR
...
redis                     Helm   Enabled                   true
...
This example only demonstrates the Standalone version of Redis. For more information, please refer to the documentation Create and connect to a Redis Cluster | KubeBlocks.
kbcli cluster create redis --mode standalone <clustername>
Execute the following commands to obtain the basic information of the target database.
kbcli cluster connect --show-example --show-password --client=cli <clustername>

Execute port-forward to provide the Redis service to the host. Note that I have named my Redis instance as 'myredis', you will need to change it to the name you have chosen.
kubectl port-forward service/myredis-redis-redis 6379:6379
>
Forwarding from 127.0.0.1:3306 -> 3306
Forwarding from [::1]:3306 -> 3306
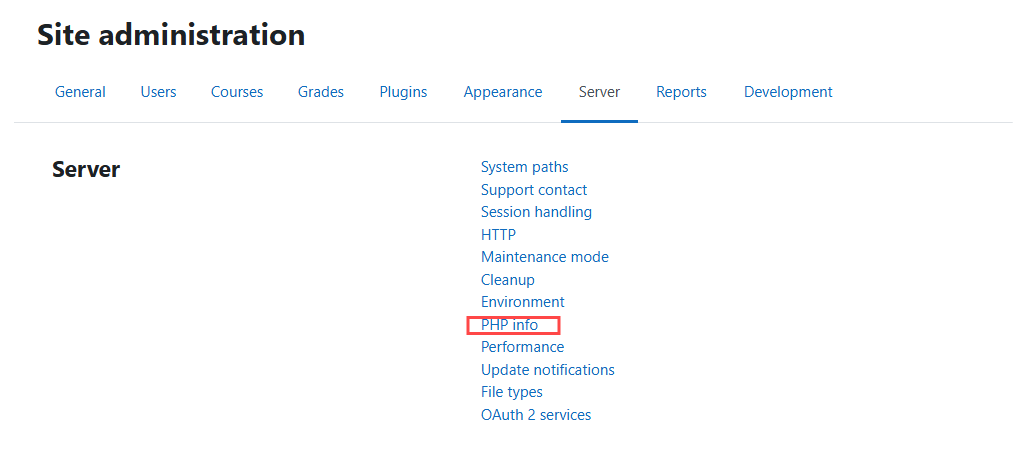
Check your PHP version, CPU (64-bit or x86), and thread safety value (refer to Site Admin > Server > PHP Info) to get the correct version.
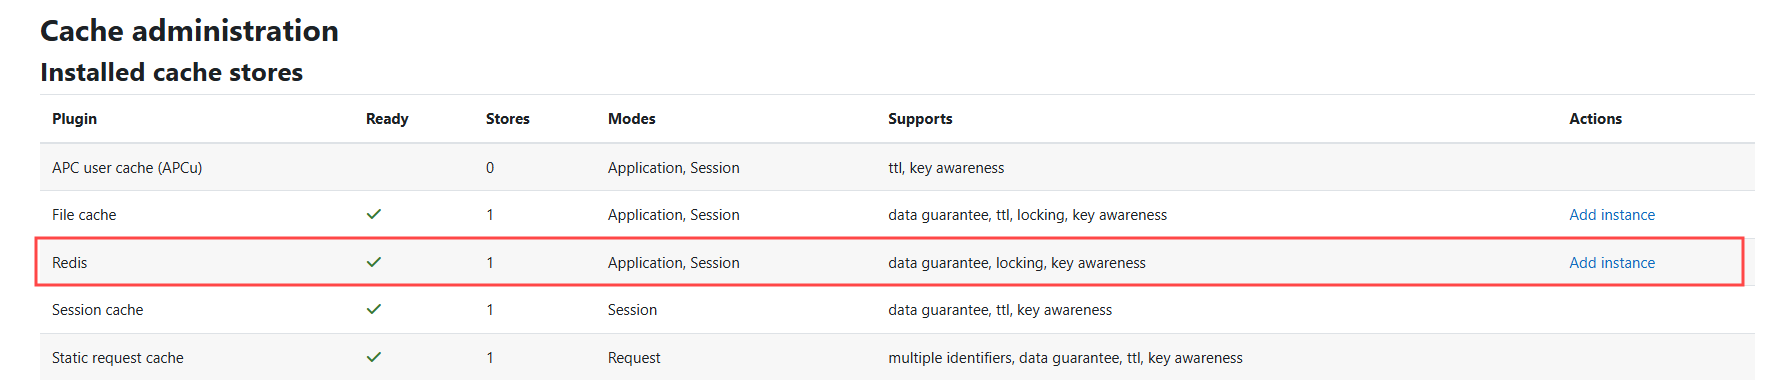
php_redis.dll to the xampp/php/ext directoryextension=php_redis.dll to the php.ini and restart the web server.Check Site admin > Plugins > Caching > Configuration. If the service is successful, you should see a green checkmark next to "Redis" under "Installed cache stores", as well as a link to add an instance.
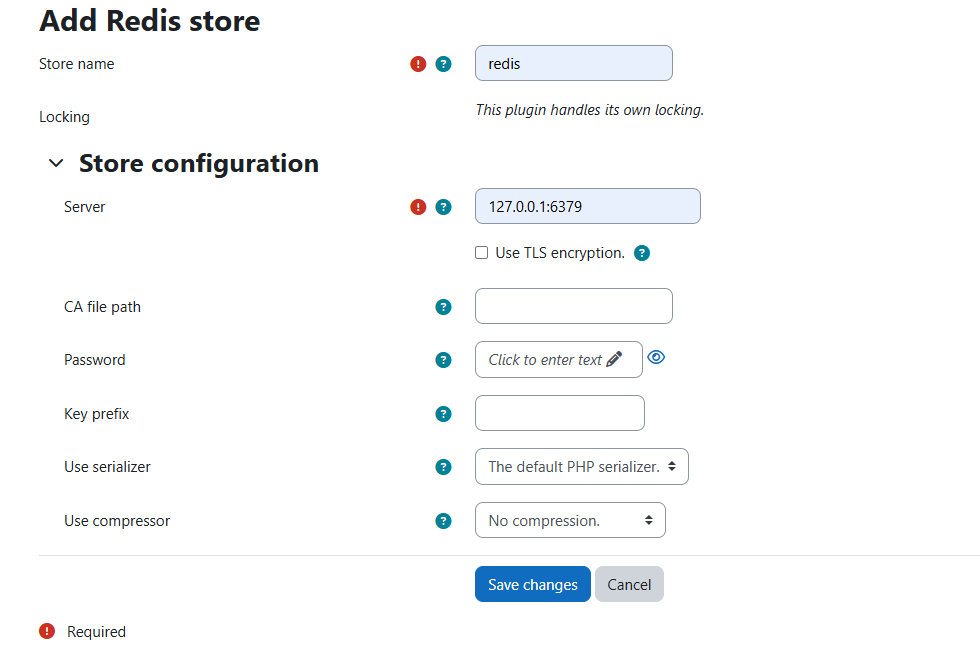
After clicking Add instance, fill in the basic settings. In this example, the name is 'redis' and the server is 127.0.0.1:6379.
After clicking Save changes, you will see Handling connection when you return to KubeBlocks. At this point, you can use Moodle more smoothly!
